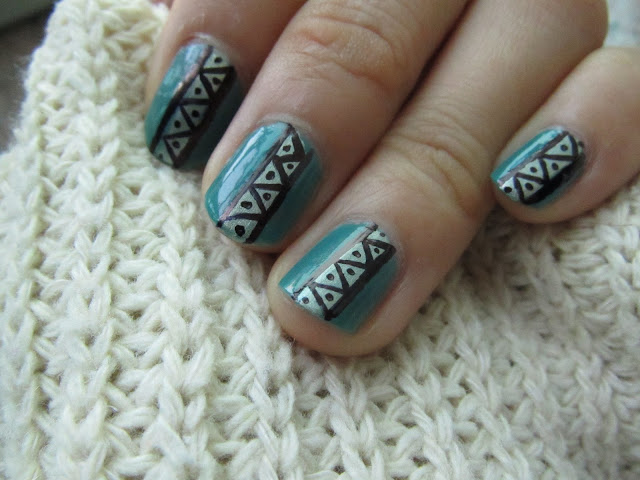
Manicures are so pampering, but it's hard to squeeze time and money out for such luxury regularly. The more intricate your nail designs, the more expensive it'll be - so why not do up your own? The best part is that it's so simple, and you won't even need to limit your choices to a commercial design book ♥
Black and mint nail polish - no frills $3 each
Gold OPI - Free from a local fashion event
Hair pin - from home
Nail art dotter - $1 (picked up from a local art store)
(Optional, I didn't use this)
For this design, it's really a simple tri-step process. Base mint coat, with a middle strip of gold and then the intricate details with the black nail polish in the middle. (With drying time in between coats as per a normal manicure) What I would like to share would be how to do up the details with easily available tools you have at home! For me, I work best with the tips of a hair pin. With a steady hand and patience, you can come up with a lot of designs ♥ The back of the hairpin is good for wavy designs, while the front tip is good for dotting - you can adjust the size of the dots by the application pressure. It's not the best tool around, but it's so inexpensive and you can experiment around without a cent! If you mess up, you can purchase one of those nail markers, which can last for pretty long. Other alternatives include a nail art dotter from a local art store or nail shops, or using a traditional pencil with a pushpin stuck onto the back eraser portion.
I have heard a lot of raving about using Scotch magic tape to do up clean neat lines (good for stripes) on nail designs so maybe I'll try that next time, ciao!


