
.jpg)
I've been meaning to post this up for a while because I did this last semester before the year end holidays, so here it is! I really love how fringe tees give out a refreshing yet playful element to an outfit ensemble ♥ Always wanted to get one of my own, but I didn't think it was worth shelling out 30 bucks for a shirt when I could easily transform an old blouse to have a customized fringe. Loved it so much that I bought some cheap tank tops for experimenting with this easy DIY! Had a lot of fun trying this out, and I'm so glad it turned out pretty well :) Here are 4 easy steps to jazz up any old shirt or blouse, which can definitely be achieved in the comfort of your room.
Materials needed:
An old blouse/shirt of your choice (preferably cotton)
Ruler
Pencil/chalk for marking out measurements
Good pair of scissors
Pins or clips


Step 1: Cut off the bottom hem of the shirt, you won't need it. It's okay if the snip is uneven, so don't be afraid to make a mess! I like to use pins to secure both ends down so it's easier to cut, but I didn't have them at hand then but I used these cute hair clips which also do the trick.


Step 2: Measure a suitable length for the fringe to start (preferably not too short if you don't like it to be a cropped top) and mark out equal spaces between each snip. I used intervals of 1.5 cm between each cut, also ensure that the eventual number of snips is an even amount as you will pair them up to tie design knots. A soft 2B pencil or chalk would be suitable for making marks on the cotton shirt, I used a soft watercolour pencil and it was perfect.


Step 3: Be confident and snip away! I took out a bigger pair of scissors for this so the job would be faster and my snips would be straighter. If you like your fringe to be longer strips, you may adjust accordingly and cut upwards.


Step 4: Here's my favourite part - tying the knots in any customized design that you like! For this DIY, I did a simple 2-tier diamond design and hence only had 2 knot tiers. It's easier to do this when the shirt is hanging on the hanger so you do not get confused. I started by pairing up the fringe strips and tying a simple dead end knot twice (don't put too tightly if the shirt material is fragile), this helps to conceal the raw cuts you made between each strip. After you are done with the first round of tying, you move down to the next tier of knots. Using 2 fringe strips which originated from neighbouring (and hence not the same) first-tier knot, create a diamond shape of desired size and tie a double knot. When you are done, you can readjust the size or fix any material frays with a dab of clear nail polish.
You can create different designs, such as creating a third tier and so on. Would definitely love to try this out on different materials and designs when I have more time on my hands ♥


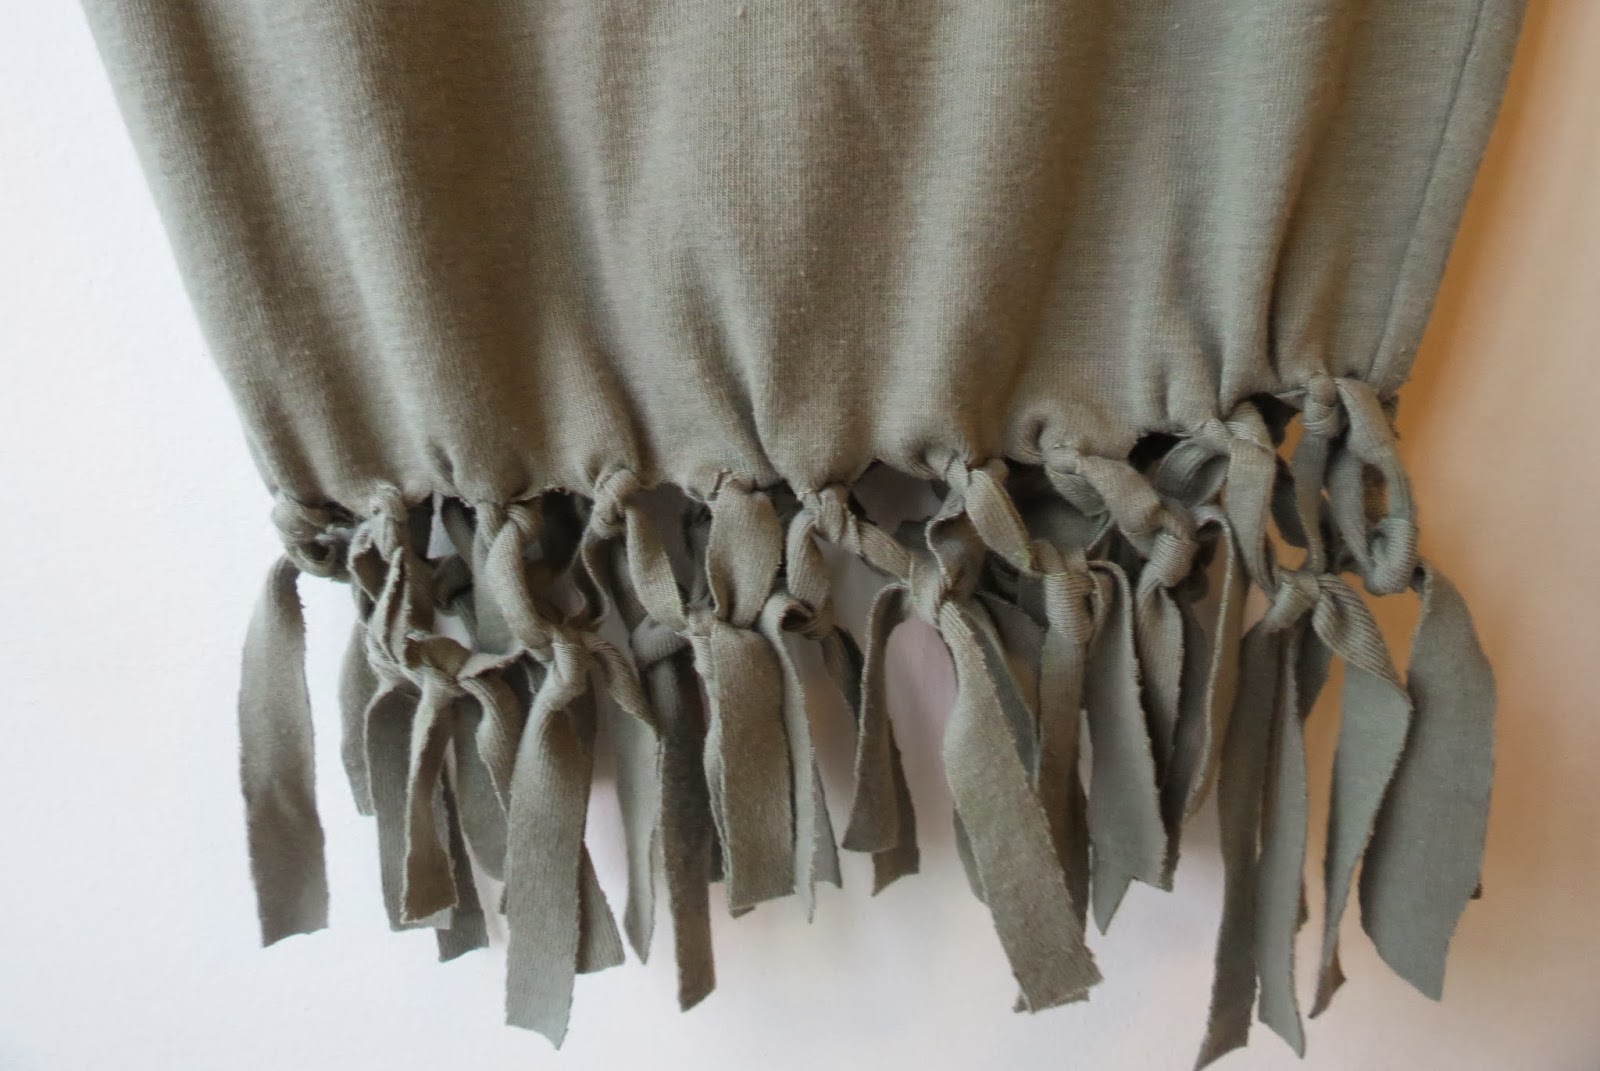

Pictures don't really do this beautiful DIY any justice - it's gorgeous in real life and injects such a playful element to any outfit ♥ Was initially quite shy of wearing this out because it's quite a twist from my everyday wear, but wore it one day and it felt so mood-lifting even on a blue and rainy Monday!
.JPG)
.jpg)
Ciao and happy DIY-ing! Will be away at Bali for a short getaway with my friends, can't wait :)


